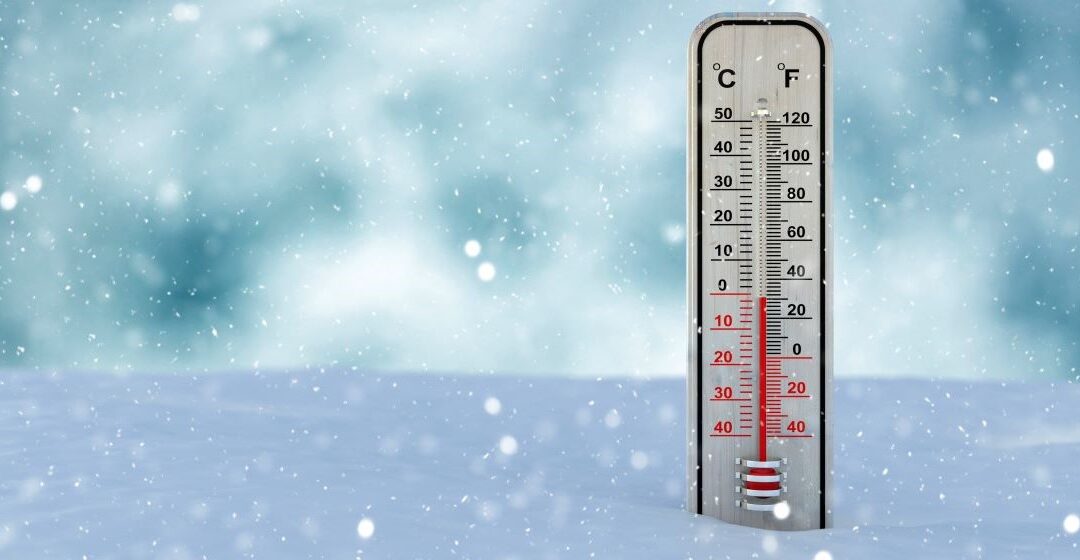
Cold weather season has arrived. Here’s how you can stay ready.
The cold weather season is here. Colder temperatures can cause higher demand for electricity. We work year-round to maintain and improve our infrastructure, and we will be ready to serve our customers regardless of the conditions.
We always encourage our customers to be ready for any severe weather, especially during cold temperatures. If you haven’t prepared for these next few months, the best time to prepare is now.
Here are some ways you can stay safe and, when appropriate, save energy.
Safety first
We encourage customers to sign up for alerts at pplelectric.com/alerts. You can customize these alerts based on your preferences. If an outage occurs, you can get alerts and updates at pplelectric.com/outage. We also encourage signing up for local emergency alerts and staying tuned to weather forecasts throughout the season.
- Prepare an emergency kit: Your kit should include non-perishable food, water, medication, first-aid supplies and any pet supplies you may need. Be sure to include batteries and battery-operated flashlights. Store your kit in one location, preferably in an airtight container.
- Space heaters: Use space heaters sparingly, and only when needed. Do not plug into extension cords or power strips. Leave plenty of space between your heater and any nearby objects and keep them on a level surface away from flammable objects and walking paths. Don’t leave unattended or use while sleeping.
- Electric blankets and heating pads: Make sure to inspect these devices before each use to ensure there is no damage. Do not place other objects or blankets on top of electric blankets while in use. Do not tuck an electric blanket into the mattress and never leave these devices unattended or use them while you are sleeping.
- Generators: If you must use a generator, read and follow the manufacturer’s guidelines for operation and pay attention to any warnings. This includes making sure you use the proper fuel for the generator and only add fuel when the generator is cool. Make sure to inspect the generator before each use to ensure it’s in good, working order. Your generator should never be used in an enclosed area or placed inside a home or business. Keep away from windows and vents that could allow carbon monoxide to sneak inside and make sure your home has working battery-operated carbon monoxide detectors.
In the event of an outage:
- Avoid using candles for lighting because they can start fires. Use flashlights instead.
- Avoid opening your refrigerator and freezer as much as possible.
- Do not use gas ovens or ranges to heat your home.
- Unplug sensitive home electronics. Turn off ovens and space heaters that may have been on when the outage occurred.
- In the event of an emergency during an outage, call 911.
Energy-saving tips
Even during extreme cold, you can still save energy and money with these tips:
- Cover drafty windows: Roll up a towel or blanket for the bottom of drafty exterior doors. If possible, add caulking or weather stripping to seal air leaks around doors and windows.
- Let warm air flow: Make sure that rugs, drapes and furniture are not blocking airflow to and from heating registers, radiators or baseboard heaters. Rooms will have better circulation, and it will allow your system to work as intended, using less energy.
- Bundle up: Use extra blankets or wear extra clothes. You can save up to 1% in heating costs for every degree you dial back your thermostat, according to the Department of Energy.
- Mind your fireplace: Keep your fireplace damper closed unless a fire is burning. Having the damper open is like having a window in your home wide open, as it allows warm air to escape through the chimney.
- Use nature’s heater: Allowing the sun to shine in through your windows during the day can keep your home warmer. When the sun goes down, be sure to close the drapes to reduce heat loss through windows.